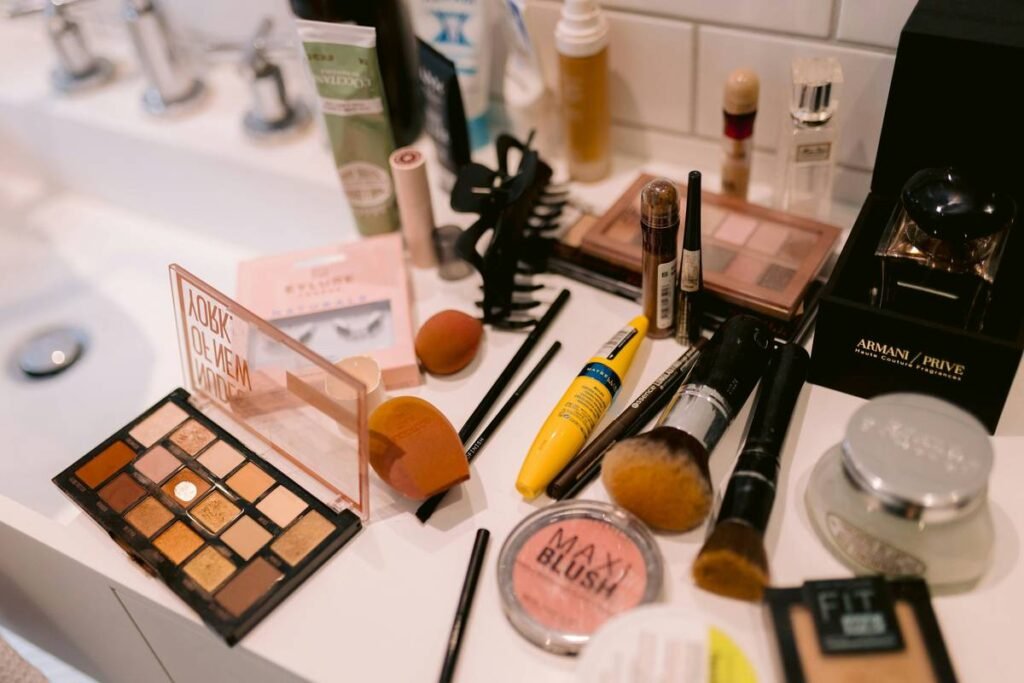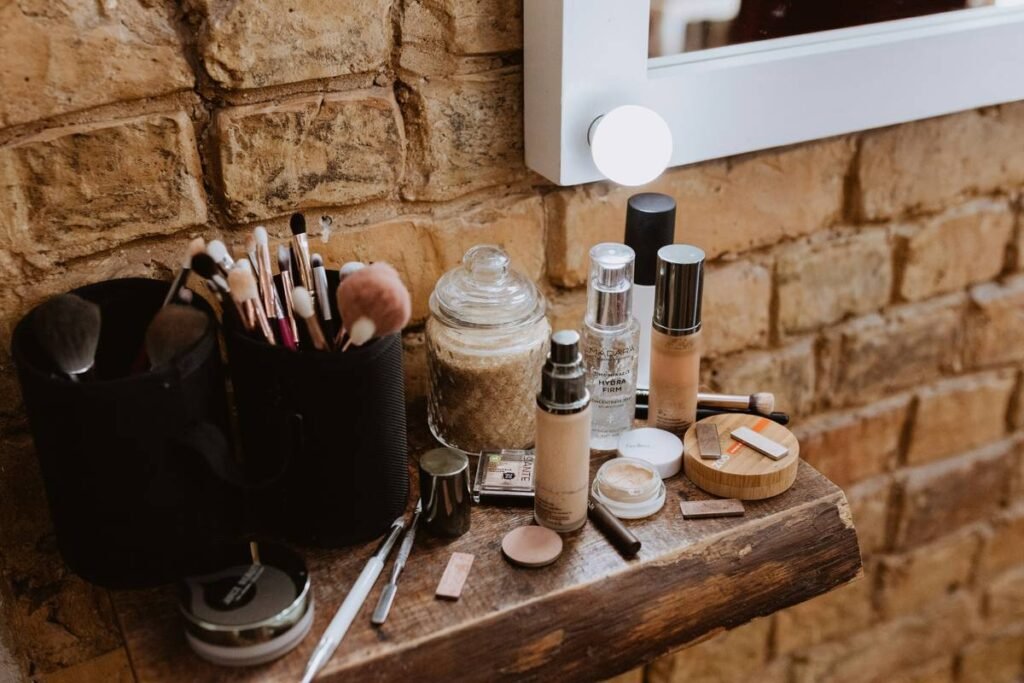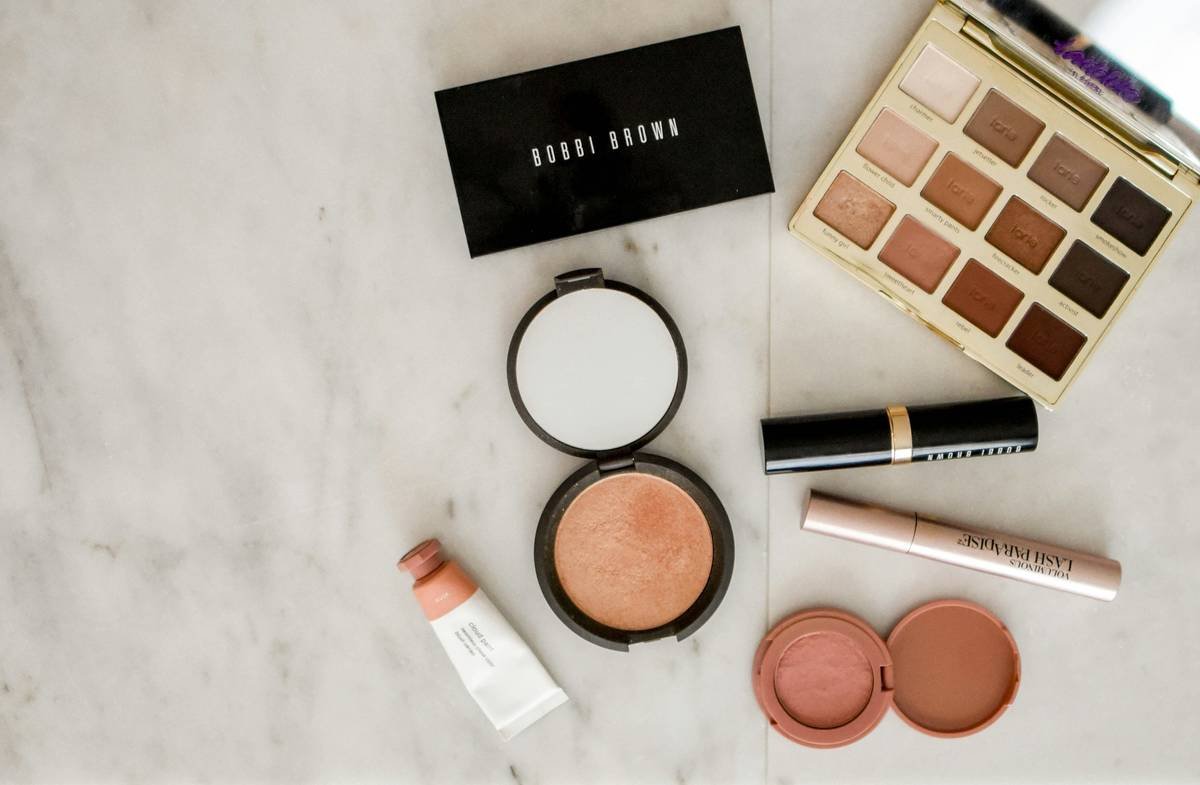
You bought a beauty organizer tray. It looked sleek online—modular, chic, Instagrammable. Now? Lipsticks roll into shadow pans. Brushes topple over by noon. Half your palette lives on the bathroom counter. The chaos isn’t your fault—it’s the design. Most trays prioritize aesthetics over anatomy. But what if your setup could actually work with your routine—not against it?
The Hidden Flaw in Most Beauty Organizer Trays
Manufacturers engineer trays for shelf appeal, not workflow. They assume you categorize by product type: brushes here, liquids there, powders elsewhere. Real life doesn’t work that way. You apply makeup in sequence—primer, concealer, bronzer—not by container material.
And most trays lack depth customization. A shallow compartment swallows a full-size setting spray but drowns a mini eyeliner. Result? Wasted space or constant reshuffling. The math is simple: if your tray forces you to reorganize weekly, it’s part of the problem.
How to Build a Functional Beauty Organizer Tray That Lasts
Forget “one-size-fits-all.” Your ideal tray mirrors your actual application rhythm. Start by mapping your steps—not your products.
Step 1: Audit Your Non-Negotiables
Pull out only what you use daily. Toss the rest in a drawer. If you don’t reach for it within 48 hours, it doesn’t belong in your core tray. Be ruthless. Clutter isn’t cute—it’s cognitive load.
Step 2: Prioritize Vertical Zones, Not Just Compartments
Stacking matters more than separation. Use tiered inserts or acrylic risers so your most-used items sit at eye level. Store backups below. This cuts fumbling time by half—especially under morning lighting.
Step 3: Choose Material Based on Maintenance, Not Looks
Glossy white acrylic scratches in weeks. Matte finishes hide dust but trap oil. Here’s how common materials really hold up:
| Material | Pros | Cons | Best For |
|---|---|---|---|
| Acrylic | Clear visibility, modern look | Scratches easily, shows water spots | Display-only setups (low humidity) |
| Silicone | Non-slip, flexible, wipe-clean | Limited compartment depth | Travel kits & cream products |
| Bamboo | Natural texture, sturdy | Absorbs moisture, warps over time | Dry powder storage (low-use zones) |
| Metal (brushed) | Durable, germ-resistant | Heavy, can chip enamel | High-traffic vanity tops |
The Industry Secret: Pros Don’t Organize by Product—They Organize by Motion
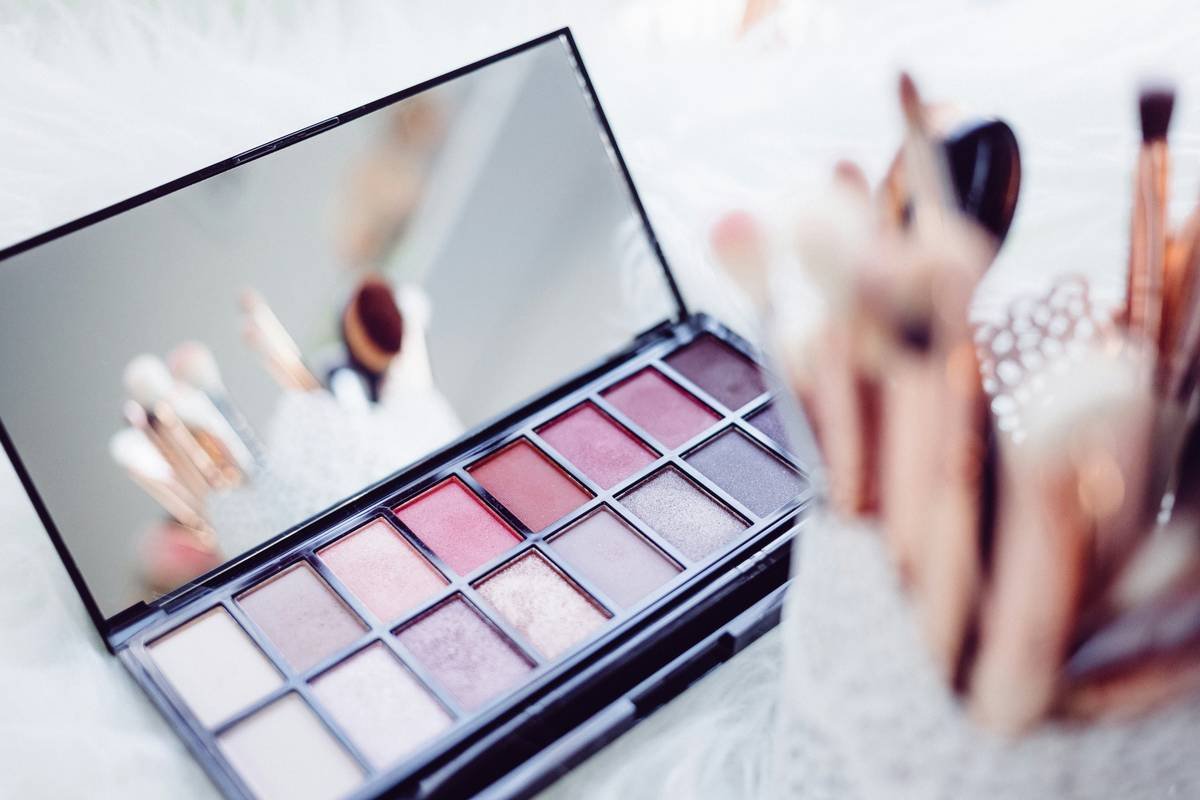
Here’s what no brand tells you: top makeup artists organize tools based on hand movement—not category. Concealer sits next to corrector because they’re blended with the same finger motion. Eyelash curler nests beside mascara since both require one-handed operation near the mirror edge.
Think about it. Your left hand grabs tweezers while your right applies liner. A good beauty organizer tray anticipates this choreography. Place grippy tools (tweezers, lash curlers) on the far left; liquid applicators center-stage; powders to the right where excess fallout won’t contaminate liquids. It’s biomechanics, not interior design.

FAQ
What’s the best size for a beauty organizer tray?
Aim for 12″x8″ max for countertop use. Larger trays encourage hoarding. If you need more space, stack vertically—not outward.
Can I use a beauty organizer tray for skincare too?
Yes—but group actives (vitamin C, retinol) separately from moisturizers. Cross-contamination degrades potency. Use sealed acrylic drawers for serums.
How often should I clean my beauty organizer tray?
Wipe spills immediately. Deep-clean weekly with 70% isopropyl alcohol—especially silicone or bamboo, which harbor bacteria in seams.